Food, Community And All Things Sustainable

March 16, 2012

Planning the Garden for Canning - or Freezing or Pickling or Dehydrating

This article was also published at Sustainable Dakota Digest. Photos courtesy of Maria Birch, Sharon Enos and Susan Weisflock.
 
Photo courtesy of Maria Birch

How many quarts of home canned tomatoes will your family eat over the winter? No matter if it is just one quart or fifty quarts, you can grow those tomatoes right in your garden.

A small piece of ground or even a container garden can produce enough tomatoes – or most any fruit or vegetable for preserving.

Photo courtesy of Susan Weisflock
Harvest dates for produce grown in South Dakota can range from May to November. Dakota Rural Action publishes a handy chart of South Dakota Harvest Dates.

Plenty of publications are available online to help you learn the ins and outs of gardening, and to acquaint you with the various styles of gardening – traditional gardens and container gardens, to name a few.

Start planning that canning garden by determining which style garden works best for you.Then figure out what to grow. Start small, do not overdo it. There is nothing more discouraging that having home grown produce spoil because you cannot get it canned, frozen, pickled or dehydrated fast enough.

A small crack on a tomato or a black spot can be cut out. Fully ripe tomatoes make excellent juice. Tomatoes that are moldy or smell bad belong on the compost heap. So do mushy or molding cucumbers. Limp or overgrown cucumbers make excellent relish.

Photo courtesy of Susan Weisflock
Fifteen tomato plants will easily yield 15 quarts of tomatoes. Would those fifteen quarts help get your family through the winter?

Just know that you might not be canning all 15 of those quarts at the same time. The season will start with slow yields, maybe one or two ripe tomatoes a day. When August rolls around, prepare to can and freeze. This is peak tomato season.

A raised bed garden just 6-feet by 4-feet could hold those 15 tomato plants. This compact space makes it easy to manage the garden. Weeding, watering and harvesting will be a breeze. The four-feet width makes it possible to reach the center of the garden without walking on the soil.

Photo courtesy of Sharon Enos
This means you could plant some other things around those tomato plants. This type of intensive planting or companion planting is a common practice in Southeast Asia and other areas of the world where land and water are scarce. This type garden is not planted in rows, but rather in “blocks.”

A tomato plant might be surrounded with lettuce, carrots and onions or chive plants. This method of planting conserves water, garden space, and helps keep weeds down.

Beans and cucumbers make good companion plants. They could share a raised bed. Plant a dozen or so bean plants in one-third of the bed and plant a 12 to 15 cucumber plants in the rest of the bed. The cucumbers will yield 15 to 20 quarts of 3- to 4-inch pickles or up to 30 quarts of 1- to 2-inch pickles.

The beans will yield 15 or more quarts of beans – either canned or frozen. If garden space is not available, tomatoes, cucumbers, peppers, squash and herbs can easily be grown in a container garden.

Photo courtesy of Maria Birch
Just imagine a mini-herb garden in an old water pail sitting just outside in the sun near your kitchen door. All you have to do is step outside to snip off oregano, basil, thyme, rosemary, chives or lemon balm to add to the tomatoes you are canning.

Enjoy your gardening experience. There is nothing quite like produce fresh from your own garden. And nothing tastes better on a cold winter night than tomatoes or other produce home-canned from your own garden. 


Photo courtesy of Susan Weisflock

Resource Materials
Vegetable Gardening, Rhoda Burrows and David Graper, South Dakota State University Extension, http://pubstorage.sdstate.edu/AgBio_Publications/articles/EC668.pdf

South Dakota Harvest, Dakota Rural Action, http://sdlocalfood.org/dates.htm

Growing Tomatoes in the Home Garden, Rhoda Burrows, SDSU Extension, http://pubstorage.sdstate.edu/AgBio_Publications/articles/FS915.pdf

Specialized Gardening Techniques: Wide-row Planting, Square Foot Gardening and Raised Beds, University of Wisconsin Extension, Helen C. Harrison, http://learningstore.uwex.edu/assets/pdfs/A3384.PDF

Raised Bed Gardening, Christopher J. Starbuck, University of Missouri Extension, http://extension.missouri.edu/p/g6985

Small Space Gardening, Mother Earth News, Feb./Mar. 2012, http://www.motherearthnews.com/article.aspx?id=2147498802

Growing Cucumbers, Peppers, Squash and Tomatoes In Containers, Ohio State University Extension, http://ohioline.osu.edu/hyg-fact/1000/1645.html

Container Gardens, Colorado State University Extension, http://www.ext.colostate.edu/pubs/garden/07238.html

Vegetable Gardening in Containers, Joseph J. Masabni, Aglife Extension, Texas A & M, http://aggie-horticulture.tamu.edu/publications/guides/e-545_vegetable_gardening_containers.pdf

Carrots love tomatoes, companion planting for a healthy garden, Mother Earth News,  Feb./Mar. 1992 http://www.motherearthnews.com/organic-gardening/carrots-love-tomatoes-companion-planting-for-a-healthy-garden-zb0z11zbug.aspx

March 13, 2012

Planning to Can. Gardens Optional

This article appears also at Sustainable Dakota Digest


In the past few years, there has been a renewed interest in home gardening and home food preservation – canning, dehydrating, freezing and pickling or fermenting.

These days it is not necessary to grow a garden in order to have fresh produce for preserving.

Nor is it necessary to preserve huge quantities of produce.

A new trend is small batch canning. Preserving just four or five half-pints of strawberry jam or a half dozen jars of salsa are two examples of small batch canning.

Persons without a garden can purchase fresh in-season produce at the local farmers market or directly from the farmer or grower.

Ten pounds of tomatoes would make about a half-dozen pint jars of salsa. A bushel of tomatoes, weighing about 54 pounds, will yield 15 to 20 quarts of whole or chopped tomatoes, or 12 to 15 quarts of juice.

Freezing tomatoes is an easy preservation method. Wash, remove the stem, and place the tomato on a cookie sheet. Put the cookie sheet into the freezer for about a half hour or until the tomatoes start to firm up. Place tomatoes in a zip lock bag and store in the freezer.

To remove skin from a frozen tomato, put the tomato in a pan of cold water. When the skin splits, use a knife to peel the skin from the tomato.

Twelve to 15 tomatoes plants in a garden will yield 15 or 20 quarts of canned tomatoes.

Photo by Maria Birch.

A 48-pound bushel of 3- to 4-inch cucumbers will yield 16 to 24 quarts of pickles. A bushel of 1- to 2-inch cucumbers will yield 35 to 40 quarts of gherkins.

Refrigerator dills are easy to make. Place sliced onions, garlic and dill in a jar. Add cucumbers to the jar. A mixture of vinegar, water, sugar and spices are poured over the ingredients in the jar. A lid is placed on the jar, and it is stored in the refrigerator. It will be ready to eat in about two weeks.

About a dozen cucumber plants will yield enough cucumbers for those 16 or so quarts of dill pickles.
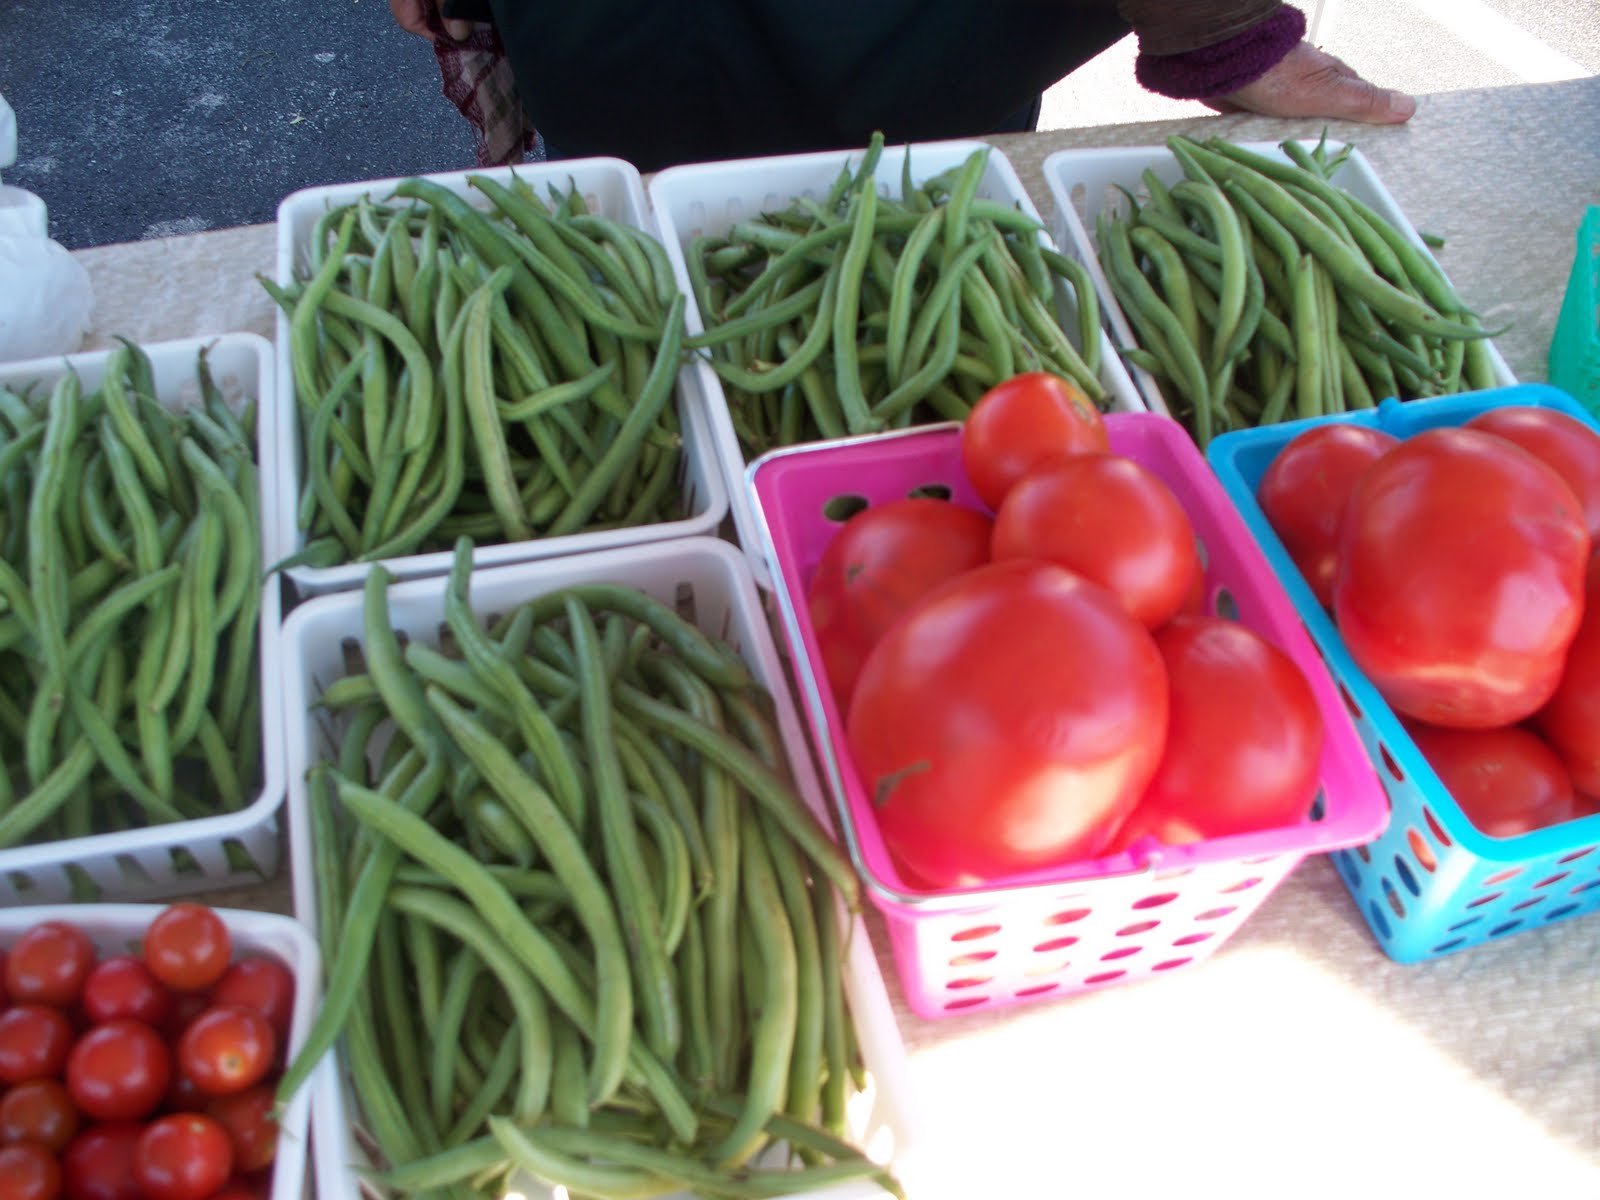
Two pounds of fresh green beans will yield one quart frozen beans. Snip off the ends, cut in one-inch pieces, blanch and place in a quart-size freezer container.

A dozen green bean plants in a garden or containers will provide plenty of beans for freezing.

One word of advice for both gardening and food preservation: start small, learn the basics and go from there.
The size of the garden can increase as you gain skills.


Photo by Maria Birch.

The amount of food preserved can likewise increase as you gain confidence in your skills.

Fruits and acidified foods (pickled items) are safely canned with a boiling water bath canner. Other foods – vegetables and meats – require a pressure canner.

Plenty of information about gardening and home preservation is available online or in print.

One of the best online sources for home preservation is the National Center for Home Food Preservation, http://nchfp.uga.edu/publications/publications_usda.html.

March 11, 2012

The Larder

It's that time of year again when the larder is getting low. Need to do some Planning for Canning to stock up that larder. Stay tuned for info and tips on how to figure it all out.

February 25, 2012

Ground Works

A while back I met the Ground Works folks from Sioux Falls. What an incredible organization. Their tag line - Growing Opportunities nails it.

They work to bring gardens to school children. You can read more about them in their very first newsletter found on their Ground Works blog. Click on the "It's About Their Stories' link.

November 27, 2011

Santa and the Parade of Lights 2011

Friends know how bonkers I can go over a parade. And I'm a nut when it comes to Santa. I had such good experiences with Santa as a child. Not because he brought us scads of gifts, because he did not. He came to our house every Christmas with a few gifts, the biggest oranges and fifty-cent pieces. Sweet memories for me.

Here are a few (poor quality) of photos of Santa and his two helpers astride horses in the staging area for the 2011 Parade of Lights.

SANTA 2011 IN PARADE OF LIGHTS STAGING AREA
.

Photos taken in the staging area - 28 floats, many with generators crowded into a parking lot - talk about an exhaust buzz! It was exhilarating waiting for the start of the parade - and duct taping and re-duct taping connections on the float.

And then there was the crowd downtown. Note how close they stood to us. We were in a pick-up towing a car trailer. Several semis had to navigate that crowded street!

It was fun. Made me want to go home and bake cookies and sweet breads to share.

PARADE OF LIGHTS 2011

September 4, 2011

End of the Season

Spent an evening attending the end-of-the-season performance by Uncle Roy and the Boys. Cool night with breezes blowing in from the Missouri River. It has been enjoyable to attend these outdoor performances this summer and to sit at the table with family and friends of the band. Already looking forward to next year's performances.

August 30, 2011

Cultural Event

Here's a reposing of an article written in 2008 and posted on another of my blogs.  Made me smile when I read it, so I want to share it...again. Links to photos have been removed as they were sadly outdated and I have no other photos to post.

Wow! What an incredible day at the local farmers and artisans market - just imagine one of the largest farmers markets in the area coupled with a car show! Two dynamite events.

My friend J, a Hmong man who came to this area as a teenaged refugee over 20 years ago, sells egg rolls in the booth next to ours. He was surprised to see the turn out at the car show and asked me if I knew the anticipated attendance. I was surprised to hear him use the word "anticipated". I was unaware he knew the word - obviously his English skills have improved greatly in the past few years. So, we chatted about the anticipated attendance, and then he asked what is the purpose of this "car show" gathering?

I stumbled around just a bit trying to explain just what is a car show. J wanted to know if there was a money prize for the best car. At Hmong festivals there is frequently a cash prize for the best soccer team, or badminton team or dance team. He seemed puzzled when I told him no cash prize at this event.

Well, I thought I'd try to explain why the car show was such a big deal that hundreds of classic cars would show up along with thousands of admirers. So I pointed out a 60-something year-old lady who was dressed as a bobby soxer - hair in a pony tail held in place by the folded scarf, white shirt - untucked, of course, blue jeans rolled up into big cuffs, white socks and tennies. I said - that's how she would have dressed as a teenager in 1957 - and that car she's standing next to would have been a popular car in 1957. Ah, J said, nodding that now I get it head-nod. He said, "This is a cultural event - you are showing your children how you used to live."

Ah, yes. Although I've never quite heard of a car show referred to in that manner, J did indeed get it right - it's a .....cultural event

Freezing Tomatoes


Freezing is an easy way to preserve tomatoes, and it takes much less time than canning tomatoes. There is no need to blanch or remove the skin before freezing.

Frozen tomatoes retain their fresh picked flavor, and make a tasty ingredient in any recipe calling for tomatoes - tomato sauce, marina sauce, soups and stews.

For best results use vacuum seal bags, plastic bags or rigid plastic containers designed for use in the freezer. 

Equipment:
Knife – used to remove core and any bad spots
Cookie sheet
Freezer safe containers

Ingredients
Fresh tomatoes

Method
  • Wash tomatoes.
  • Remove the core and cut out any bad spots.
  • Place tomatoes on a cookie sheet and place in the freezer for 30 minutes or until the tomatoes begin to freeze. Note: Taking this step will prevent tomatoes from sticking to one another, making it easier to use just one or two tomatoes rather than having to thaw a block of frozen stuck-together tomatoes.
  • Remove tomatoes from freezer.
  • Insert into freezer safe container.
  • Return to freezer.

How to remove skin from frozen tomatoes:
  • Remove desired number of tomatoes from the freezer.
  • Place the tomatoes in a bowl of cold water.
  • Allow to sit for up to 5 minutes – the skin will begin to crack.
  • Use a knife or your fingers to remove the skins.

August 29, 2011

Freezing Beans - Green, Wax and Snap


A quick and easy way to preserve beans is by freezing.  A few easy steps can make it possible for your family to enjoy beans throughout the winter months. Use fresh picked beans from your garden or the local farmers market.

For best results use vacuum seal bags, plastic bags or rigid plastic containers designed for use in the freezer.  Package according to your family’s needs: pint bags or containers hold 2 cups, quarts hold 4 cups.

The beans should be blanched and cooled before freezing. Lacking a blancher, use a kettle.
A handy chart provided by National Center for Home Food Preservation shows blanching times for various vegetables.

If you are new to blanching or need a refresher, read Blanching How-To

Freezing Beans

Equipment
Blancher
Large bowl of cold water
Freezer safe containers
Sharp knife for cutting beans to length

Ingredients
Fresh picked beans

Method
  • Wash and drain beans.
  • Remove stem end and the little “tail” at the opposite end with a sharp knife, or by snapping them off with your fingers.
  • Cut or snap the beans into 1” or 2” pieces.
  • Blanch for 3 minutes.
  • Remove from blancher and put into bowl of cold water.
  • Drain and put into freezer container.
  • Put containers in the freezer.

Canning Action

With help from Tyra, Alysha and Alex, WOOFers at Muddy Pumpkin Farms, this is what went into jars in a five hour period. The final shot is short a few jars. One batch in the canner, and another waiting to go in. Hal and Mark were kept busy bring stuff in and checking on us.

We're going to call it a good day's work.

August 27, 2011

Farmers Market Action

Action at the farmers market. Particularly like that Bijou Hills Grassfed Meats posts their Mission Statement for all to see. Watch for LeAnn Werner of Muddy Pumpkin Farm showing off a double goldie heirloom tomato - 3.5 pounds - and a "pinocchio" eggplant. Happy Hydros' "Buy Fresh Buy Local" signage is almost as awesome as their hydroponic produce!


August 26, 2011

Sauted Green Beans


Serves four. A new way to serve an old standard - green beans. Easy and delicious gourmet cooking right at home.

Equipment:
Blancher or kettle
Bowl of cold water to cool green beans after blanching
Saute pan

Ingredients:
One-half pound fresh green beans (two good handfuls)
2 cloves garlic, peeled and crushed
2 Tablespoons olive oil
1/4 cup seasoned bread crumbs
Sea salt


Method:
  • Blanch beans for 2 minutes 
  • (Lacking a blancher: Put enough water in a kettle so that it will cover the beans. Put on medium heat and bring to boil. Add beans and blanch for 2 minutes.)
  • Remove beans from water and put into cold water.
  • Drain beans.
  • Place saute pan on medium heat.
  • Add olive oil and garlic.
  • When oil is warm, add beans.
  • Saute, stirring frequently, until beans are crisp-tender, about 5 - 7 minutes.
  • Add bread crumbs,stir and saute an additional 30 seconds.
  • Plate up and enjoy!


Fresh Corn Salsa

Four ingredients, all fresh from the garden or the local farmers' market.

Equipment:
A sharp knife for removing corn kernels from the cob
Kettle for par boiling corn
Tongs for removing corn from kettle
Pan of cold water for cooling down corn after par boiling

Ingredients:
2 cobs of corn
4 medium sized heirloom tomatoes, diced
1 medium sized purple onion, diced
1 bunch cilantro, leaves only
Sea salt (optional)

Method:
  • Husk corn and remove silk
  • Place a plan of water on medium high heat and bring to a boil
  • Carefully place corn in boiling water, using tongs
    Par boil corn for 2 - 3 minutes
  • Remove corn from boiling water and place in cold water to stop the cooking process
  • When cool enough to handle, use sharp knife to remove corn from cob
  • Place corn kernels in a bowl
  • Add remaining ingredients
  • Mix
  • Enjoy!

August 25, 2011

Gazpacho

Nothing says summer fresh garden like Gazpacho, a cold Spanish soup of garden fresh vegetables and bread.
A few ingredients fresh from the garden or farmers market, a bit of peeling and chopping and there you have it...gazpacho.

Equipment:
Food processor or a sharp chef's knife to finely chop all ingredients

Ingredients:
1 cucumber
6 red and yellow tomatoes
3 red and yellow peppers
2 garlic cloves
1 medium purple onion
1 small bunch cilantro
Sea salt

Method:
  • Peel, seed and chop cucumber
  • Peel, seed and chop tomatoes
  • Peel and smash the garlic
  • Pick over the cilantro to remove any damaged or dead leaves. Use only leaves, reserve stems for another recipe.
  • Put all items into food processor and pulse until desired consistency is reached.
Pour into glass and enjoy. Store is covered glass jar in refrigerator. Eat within a day or two.
Gazpacho by the quart

August 24, 2011

TOMATO MARMALADE

 
Over run with pear or cherry tomatoes? 

Make tomato marmalade.  

What does one do with tomato marmalade? Spread it on toasted herb bread, or place a dab atop a slice of goat cheese on a cracker, or use as a condiment for a beef sandwich.  So goood......

Tomato marmalade can be simple – tomatoes and sugar boiled together until thick.  Herbs, such as rosemary, oregano or thyme can be added, and will enhance the flavor.

The formula:
  • For every pound of tomatoes, use a pound of sugar.
  • For every pound of sugar, use ½ cup water.
  • For every pound of tomatoes, use one bunch of herbs, ¼ cup or more, optional.
  • Yield: 1 half-pint jar for every pint or .75 pounds of pear or cherry tomatoes.  
  • One pint of tomatoes equals .75 pounds.
  • One pound of sugar equals 2.25 cups.

TOMATO MARMALADE
Yield: 4 half-pint jars

Equipment:
Kettle for cooking marmalade
Canner with jar rack and lid
4 sterilized half-pint jars with lids and bands
Ladle
Jar lifter
Magnetized lid lifter
Small kettle for preparing hot lids

Ingredients
Herbs, optional
4 pints or 3 pounds pear or cherry tomatoes
3 pounds or 6.75 cups sugar
1 ½ cups water
Sherry vinegar or balsamic vinegar, optional

Method
    • Wash tomatoes and remove stems.
    • Remove dead leaves from herbs, wash.
    • Put water, sugar and herbs (optional) into the kettle.
    • Put kettle on medium heat and stir to keep sugar from sticking.
    • Bring mixture to boil and boil for 1 minute.
    • Add tomatoes.
    • Leave lid off and do not stir.
    • Allow mixture to simmer, without stirring. The liquid will become clear as the tomatoes begin to sweat out their juice.
    • Cook until thick. Decreasing heat if necessary.
    • When the mixture begins to carmelize – taking on a brownish color - add a splash of sherry vinegar and stir.
    • Ladle hot marmalade into jars, leaving ½” head space.
    • Wipe the rim with a clean damp cloth.
    • Apply a hot lid and band.
    • Using a jar lifter, put jars into a boiling water bath canner.
    • Process in a boiling water bath: 10 minutes for half-pints.
    • Using a jar lifter, remove jars from canner and place atop a towel in a draft free area.
    • Listen for the ‘ping’ that indicates the jar is sealed.
    • When cool, press on the center of the lid to check for a seal – lid will be concave and have no “give.”
    • Remove band and reuse. 
    • Wipe jar and store in pantry.

    If you are new to canning or need a refresher, check out these articles on Sustainable Dakota Digest:


    Home Canning: How to Get Started


    First learned about tomato marmalade at Culiblog. Have been a fan ever since.

    August 20, 2011

    FARMERS MARKET

    Another good day at the farmers market with Muddy Pumpkin Farm touting the benefits of beyond organic, food as community and food as a connector.


    August 18, 2011

    RAIN BARREL

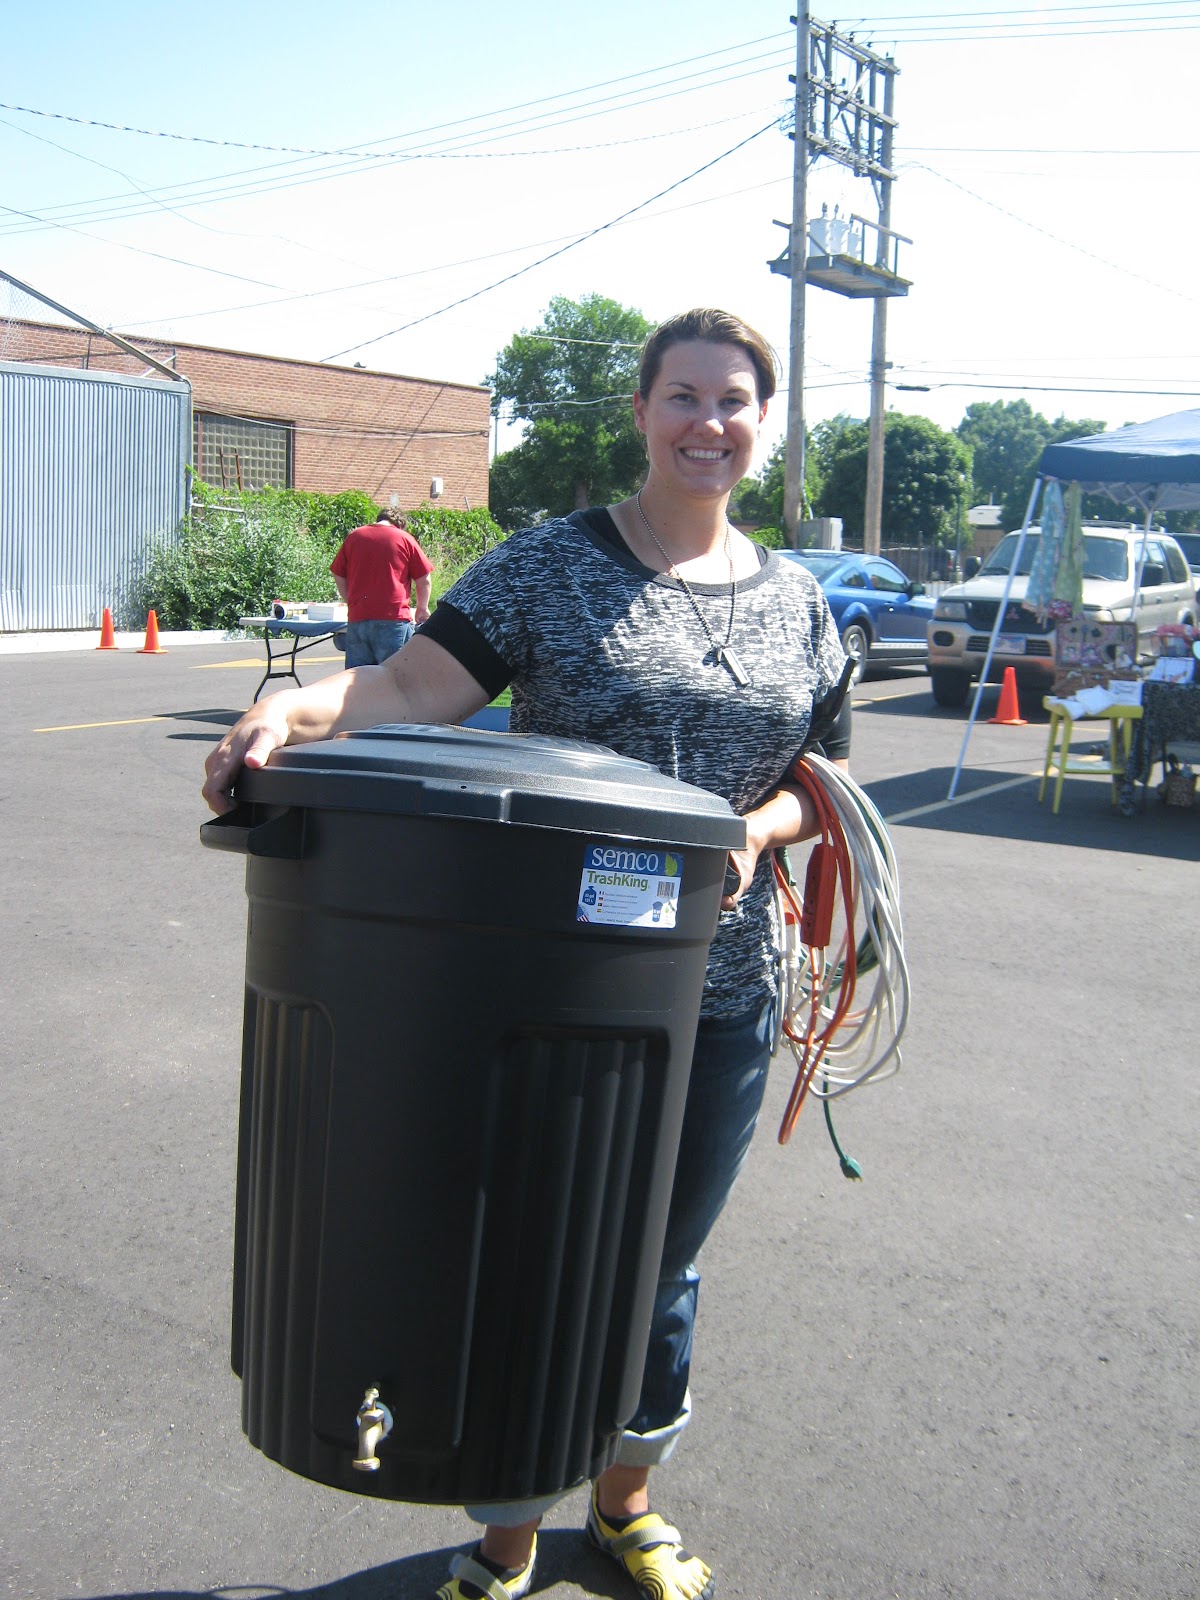
    One of the demonstrations at the farmers market last week was constructing a rain barrel from a plastic garbage can.  Amy zipped through it so fast that I was not able to get down there to take photos - we had a gaggle of customers to take care of at that very moment.

    So Amy stopped over at our booth to show off the newly constructed rain barrel.  She says she hangs out at the market on Saturday because it's a really cool place to be. She is right!


    KALE CHIPS

    The foray to the farmers market on Saturday was incredible on many levels.

    Plenty of vendors, good product, live-radio broadcasts, sustainable demos - canning and rain barrels, and a totally festive atmosphere.

    One customer brought over a sample of kale chips she made with kale purchased the week before.

    Delicious!  And she shared the recipe she adapted.

    Sorry, no photos.  Too busy making and enjoying kale chips.


    Kale Chips

    Amazingly these kale chips taste as if they are sprinkled with cheese.  Yet, cheese is not an ingredient.

    Ingredients:
    1 red bell pepper, seeds removed, coarsely chopped
    1 or 2 bunches curly kale
    1 cup raw cashews, soaked for 24 hours
    1 large tomato, seeds removed
    Juice of 1 large lemon
    1/3 cup nutritional or brewer’s yeast
    Sea salt and pepper to taste

    Method:
    1.       Remove stems from kale and use in another recipe.
    2.       Tear kale into bite size pieces.
    3.       Rinse to remove any dirt and spin dry in a salad spinner.
    4.       In a food processor, process cashews and lemon juice into a paste.
    5.       Add the red bell pepper, yeast, salt and pepper
    6.       Process until smooth.
    7.       Place kale pieces and half of the mixture in a large bowl.
    8.       Massage the mixture into the kale pieces – massage each leaf individually.
    9.       Add more of the mixture as needed.
    10.    Place kale pieces on dehydrator trays being careful to not overlap pieces.
    11.    Dehydrate at 110 degrees Fahrenheit for 5 to 6 hours.
    12.    Store in air tight container.

    Adapted by Beth J

    August 17, 2011

    Canning extravaganza as community building

    Canning extravaganza and the building of a community.

    That sounds like a good title for an article on the value of creating good food and sharing that with a community of willing learners. The article is coming, the photos are here.